
There is a thing in Mac OS X that really annoys me.. If you have different resolutions and then there is a display icon that appears in the upper menu and it shows an old Cinema Display (the plastic version) and I think that screen is really ugly, and why hasn”t Apple changed it I thought? There are new screens and computers since 10.4 Tiger, but I guess the guys over at Cupertino is just lazy =)

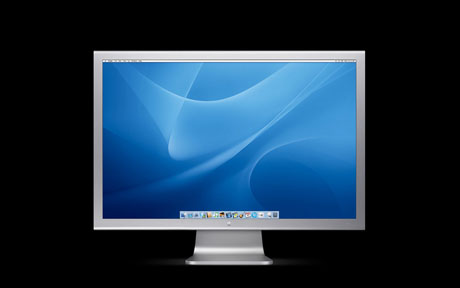
Well I decided to change it myself and as I have the Cinema Display HD with alu enclosure I decided to have that appearing in my upper menu..
This is how I did and I’ll show you step by step:
1.First go find a really good image of the Cinema Display front and open it in Photoshop..
I chosen this:
2.Now you create a new layer and then goto “Custom shapes” and choose “Rounded rectangle tool” and adjust the settings of the radius to 5px I choosed for the Cinema Display and draw it, with a light grey and adjust it with “Free transform” so it covers the screen, but not the foot itself..
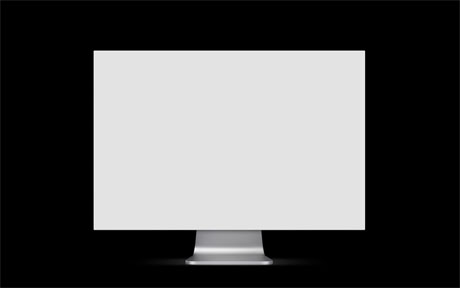
3.Until now you have the footer from the orginal image, now it’s time to draw that but in order to get it perfect you’ll need to use the Pen tool..  and draw manually the whole foot and I color it with a lighter gray then the Screen itself..
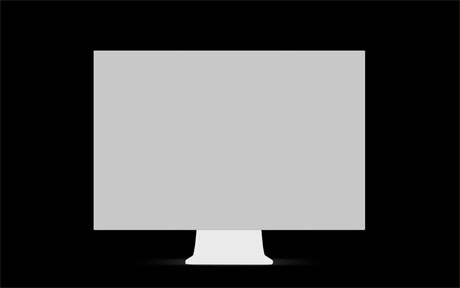
4.Hide the orginal image of the Cinema Display so only the shapes of the screen and footer together are the only visible items in your document.. Then “Select all” and goto Edit and choose “Copy merged” and create a new document and press cmd-v..
5.Goto Image and choose “Image Size” and shrink the image down to 18 px width and “Constrain proportions” and then zoom into 1600%..
6.Now you’ll have a image that looks almost like this..

7.Here comes your pixel talent comes in handy.. Try’ll make the image looks like this:
![]()
8.When your’e done save it as a TIF file and name it displays.tif
9.Now you must create a white version of the pixel icon while the icon later on is being selected..
![]()
10.When your’e finished with the white version, save it as displays_selected.tif
11.In order to get this icons to work in your OS X, we’ll need to find the folder where the icons are stored in the system.. Open up Finder and goto your main System disc and from there choose “System” and later “Library”.. Find a folder called “CoreServices” and then goto a folder called “Menu Extras”..
12.In the folder Menu Extras you’ll see a bunch of files, find and select the file called “Displays.menu”.. Right-click and choose “View package content” and then a new finder window appears and your’e inside the content of Display.menu
13.Go inside the folder called Contents and then later to “Resources”.. in Resources there are two tif files named extacly as the images you saved earlier..
[color=red] NOW!! BACKUP THESE orginal files and put them in a folder where you always could reach them..[/color]
14.As I presume you have read the sentence above I take it for granted that you copied the orginal files.. Now find your images named exactly the same and drag them into the folder.. Then it appears a option window where it says Authorization or something like that.. Press that button and write in your system password and later on choose overwrite when it asks you to it..
15.So where is your new icons.. In order for the new display icons to appear you’ll need to logout and login again.. (It just takes 2 seconds)
If you’ve done all steps right you’ll most certainly have a new display icon in your upper menu and that ugly old cinema display is gone.. =)

[color=red] Neither ME or Creativebits is not in any way responsible for any damage this eventually could do to your system, It works on my system and therefor I presume it works for everyone, If your system is fucked up, it’s probably because you doesn’t pay attention to my instructions or you just having a bad day..[/color]
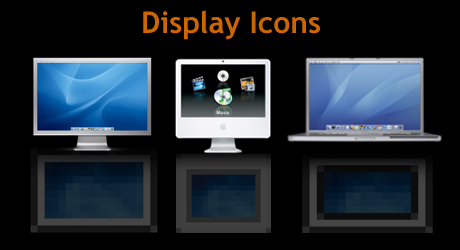
Finally.. I’ve premade some display icons down here, which you could download if you’re not upto making any own or just being lazy =)
| Attachment | Size |
|---|---|
| 21.64 KB | |
| 764.89 KB | |
| 13.25 KB | |
| 13.64 KB |
Comments are closed.