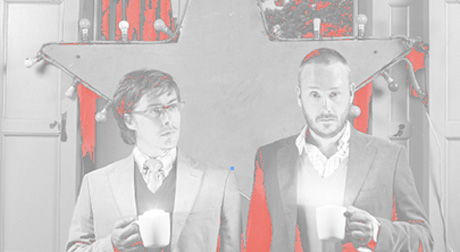
Have you ever had a problem like the the picture above in InDesign?
All those red zones are above 300% inkt percentage.
So you need to change those percentages, there are a lot of ways of doing it, with profiles and so on…
I found an interesting way in Photoshop. Here it is…
Open the picture in Photoshop, see that you have your info panel visible.
When you hover over a problem area in your picture you can read the inkpercentages in the info panel.
Now we have to select the problem area’s, you do it with the color range under the selectmenu. A window will pop up, select the first color picker and click in a problem area. In the little rectangle in the middle some are’s will become white (they are selected), if not all your problem area’s are selected click with the colorpicker with the plussign on an area to add to the selection. To expand or contract your selection you can play with the fuzziness glider. When you are happy, click OK, you will have a selection.
The problem area’s being selected we now have to adjust the inkpercentages, and you can do it with an adjustment. Go to Shadow/Highlight adjustment under the Image menu.
Normally it will jump to a 50% in the shadows and 0% in the highlights.
50% in the shadows is way too much, it wil create a blemished color, but if you diminish that percentage to around 15% it will be much better. When you hover with your cursor over a problem area you will read in the info panel the new inkvalues without applying th adjustment, so that you can adjust the percentage if it is too much or too little.
It isn’t a perfect, but it is very easy and a nice way to use the Shadow/Higlight adjustment
Hope you like it!

Comments are closed.