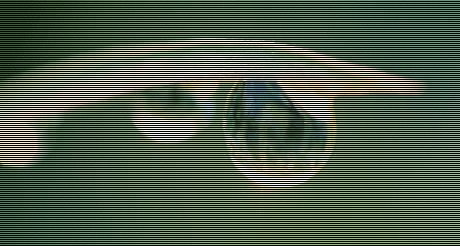
Scan lines — see example above — is a quick effect that will make your most boring images look trendy and cool. It is a pixel perfect effect, so it is mainly recommended for screen use.
Basically, what you do is create a mesh of horizontal lines on a layer above your image that hides every second row of pixels. Here is the step by step tutorial and some extra ideas.
Step 1
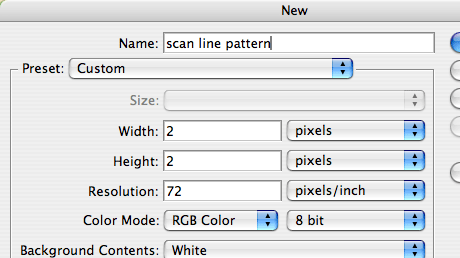
First of all you need to create a new really small document. Make it just 2×2 pixels. Zoom in on it really close so each pixel becomes really huge.
Step 2
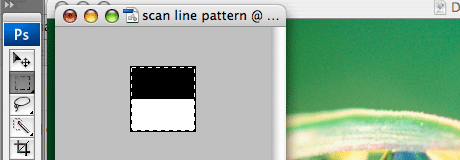
Create a new layer in your tiny document and trash the background layer. Select the Pencil tool and paint the top two pixels black. Leave the bottom two pixels transparent. Select the whole document, all 4 pixels.
Step 3
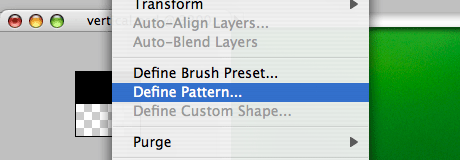
Choose the Edit / Define Pattern… menu point. Name the new pattern you just created something like: Horizontal scan lines.
Step 4
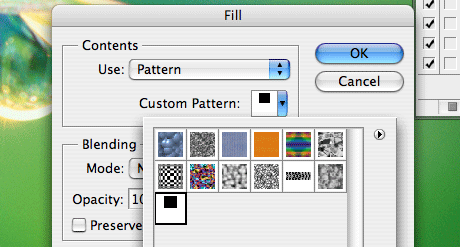
Go to your image that you want to apply the effect to. Create a new layer. Choose the Edit / Fill menu point. From the Contents Use drop down menu choose Pattern. Open the Custom Pattern drop down and select your newly created pattern. Should be the last one in the row.
Step 5

Apply the effect and see the scan lines appear over your image. That’s it.
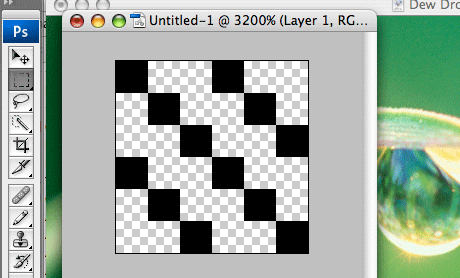
You can play with other pattens besides horizontal scan lines. For this you need to create new tiny documents with various patterns and define new patterns from them.
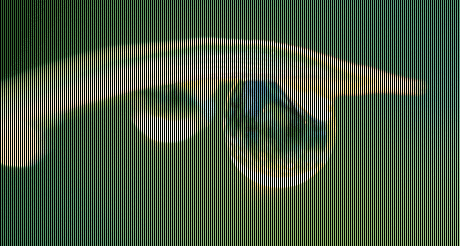
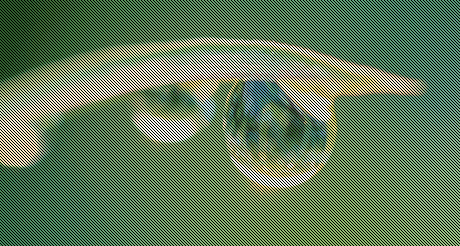
Above are a vertical and an angled example.

Plus one which is a combination of the two creating a cool carbon fiber look. This is achieved by applying a horizontal scan line and an angled one on top of each other in two separate layers.
Find the ready made 3 pattern files and the example Photoshop file you used in this tutorial attached for your convenience.
| Attachment | Size |
|---|---|
| 542.11 KB |
