
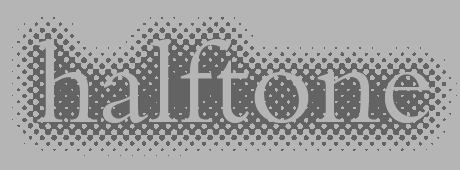
In PhotoShop you can create halftone effects (like the background of the type behind the word halftone in the image above) in just few steps with the help of the Bitmap Image Mode. This effect is very popular because it confuses and mesmerizes your eyes if used with enough contrast.
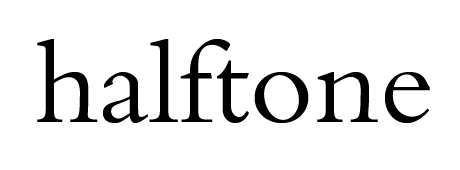
First create an object that you gonna use as your base for your halftone effect. Use the grayscale image mode at this stage. Try bulky typefaces or simple shapes to achieve the best effect.

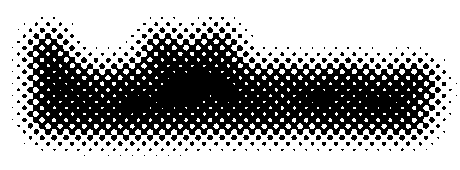
Now, blur your object and play with the Brightness and Contrast settings, until you have a very dense blob with reasonably big blurry edges. You may need to duplicate your blurred objects layer to have dense black in the middle parts.
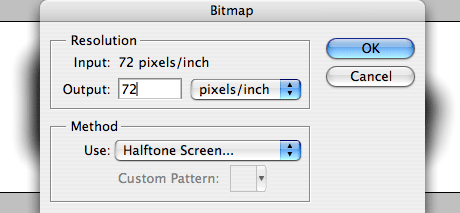
Now convert your image to Bitmap with Halftone Screen Method. You can specify higher resolution than your input image to achieve more detail in your final image.
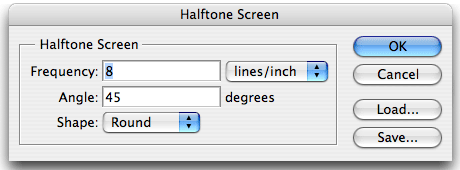
In the next pop-up window you will need to input some more variables for your effect. The lower the Frequency the bigger the dots will be. For the Shape choose Round. Make sure you try out the other available shapes later.
You can save this bitmap as a tiff file. The nice thing about a bitmap tiff is that when you place it into other applications you will be able to change it’s color. If you want to further manipulate your halftone image in Photoshop, you will need to first convert the bitmap image back to Grayscale and then to RGB Mode. Your eye killer psychedelic design is ready.