
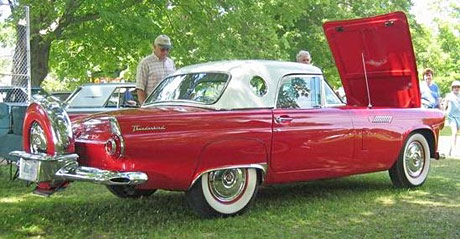
1. This is a picture of an old Thunderbird we are going to colorize. Right click on it and choose Save Picture as… to save it on your hard drive. I took this picture somewhere in Ontario, Canada so you can use it for free. Open this picture in Photoshop.
2. Duplicate image – Ctrl+J
3. We need to make selection of our car. This is the hardest part but try to adopt my technique because it is not time consuming one. Go to Select – Color Range. Set fuzziness to 100 as a start point. Now use eyedropper tool and click on the car color which is red. Keep clicking on the car with eyedropper tool until you get most of car white – solid white. Now increase fuzziness to expand white. Hit OK. You will see selection now.
4. While top layer selected (layer 1) click on layer mask icon at the bottom of layers palette to add layer mask. Now press “\” – backslash to see masked areas. Then Ctrl+I to invert the mask. Now, press Ctrl and click on layer mask thumbnail to make active selection. The layer mask color is set by default to red with opacity 50%. I suggest you to change this. You can do it by double clicking on layer mask thumbnail. Small window will popup. Pick dark blue and set opacity to 100%.
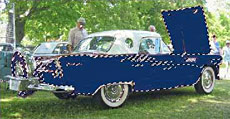 5. Let’s go to do some editing on mask. You can see that oldman’s face is masked – dark blue. We need to change this. Change your foreground/background color to white/black. Pick the hard brush 13px and try to remove dark blue from oldman’s face. If nothing is going on then invert selection with Ctrl+Shift+I. When blue was removed from background now it’s time to paint car. Pick black and paint. Once again if you can’t see brush is applying color try to inverse selection Ctrl+Shift+I. When you finish painting car press Ctrl+D to deselect. In the next step we are going to fine tune the mask. Select mask again with Ctrl+click on layer mask thumbnail. You will see now that selection is much more better. Paint again. Remember to use Ctrl+Shift+I frequently. That’s the most important step in my technique. Again deselect with Ctrl+D. Now edit mask with no selection at all. This is a real fine tuning.
Pressing “\” frequently will help you a lot to turn on/off the mask. Do not work too much at this time. You will master the technique later in the future.
6. Now comes the best part. Colorizing.
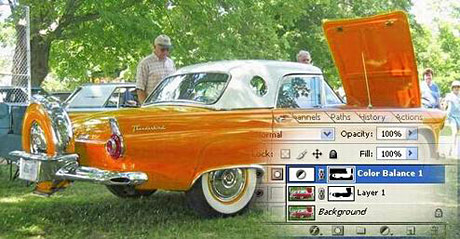
Version No.1: Turn off the mask by pressing “\”. Ctrl+click on layer mask thumbnail and then inverse selection – Ctrl+Shift+I. Then go Layer – New Adjustment layer – Color Balance. Move Red to right, Green to right and Blue to left (-80). Select move tool and hold Shift key. While Shift is active press on “+” to switch trough the blending modes. Double clicking the layer thumbnail on the top layer will open Color Balance. Make some changes and correct blending modes again. Here is what I’ve got.
Before jumping to another technique delete top layer.
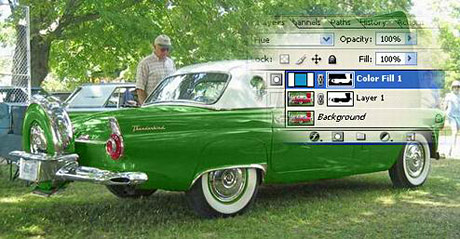
Version No.2: Turn off the mask by pressing “\”.Ctrl+click on layer mask thumbnail and then inverse selection – Ctrl+Shift+I. Then Layer – New Fill Layer – Solid Color… and pick the color.
Change blending modes – select move tool hold Shift key and keep pressing “+” until you get great effect. Change colors by double clicking Solid Color’s layer thumbnail (not layer mask thumbnail) and have fun. Here is what I’ve got now.
Before jumping to another technique delete top layer.
Version No.3: Turn off the mask by pressing “\”.Ctrl+click on layer mask thumbnail and then inverse selection – Ctrl+Shift+I. Change foreground/background colors to black and white. Create new Hue/Saturation Adjustment Layer: Layer – New Adjustment Layer – Hue/Saturation. Tick colorize check box and play with settings. Change blending modes on this layer. Double clicking the layer thumbnail on the top layer will open Hue/Saturation window.
You can also try using Channel Mixer Adjustment Layer.
Try applying Filters.Distort – Diffuse Glow works nice. Play with Sketch – Halftone pattern.
Also, learn how to use Layer Comps (Window – Layer Comps). With them you can save many versions of your car inside one .psd file.
Keep practicing and make this technique 10 minutes job. Note that modern cars are easier to colorize.
Comments are closed.