It’s very common that one has to use an image for printing taken from the internet. These images are usually small in size and you can clearly spot the jpeg compression in form of small squares. If you wanted to use such an image for printing, you can either use them in only very small size or the above mentioned squares will be visible. Obviously it’s better to avoid using low res jpeg images for printing, but sometimes we can’t avoid it. With the following procedure you can enlarge and improve your image slightly, so that it becomes printable. It can never be sharp and detailed, but at least it will not be jagged.
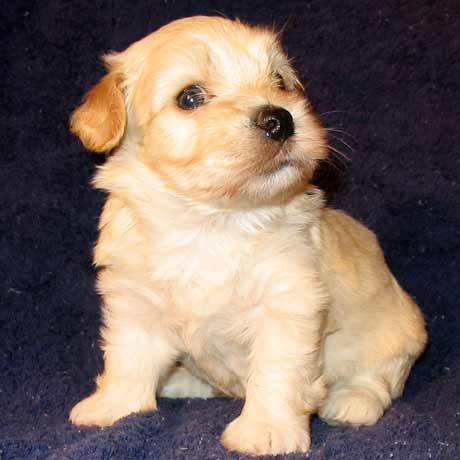
This is the original jpeg. It looks ok at this size but once we enlarge it to it’s double size the problems of the jpeg compression will become obvious.
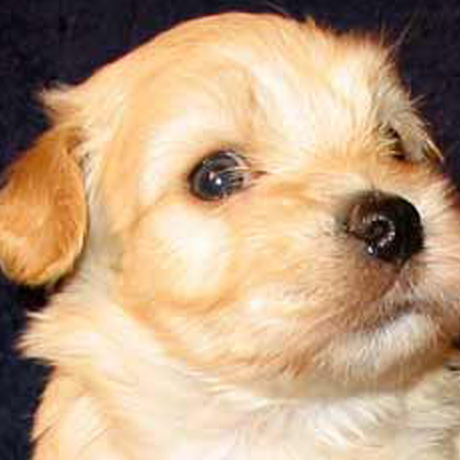
First enlarge it to it’s double size with Image/Image size. Make sure the Resample image option is selected and it is set to Bicubic. The small squares resulting from the jpeg compression are very much evident on the left ear.
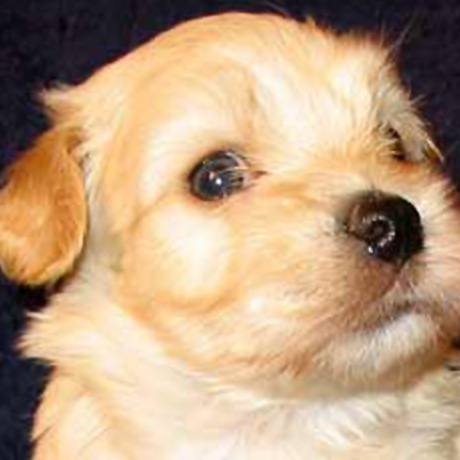
As a second step to clear the jagged pixels around the edges apply Filter/Noise/Despeckle. This makes the image softer.
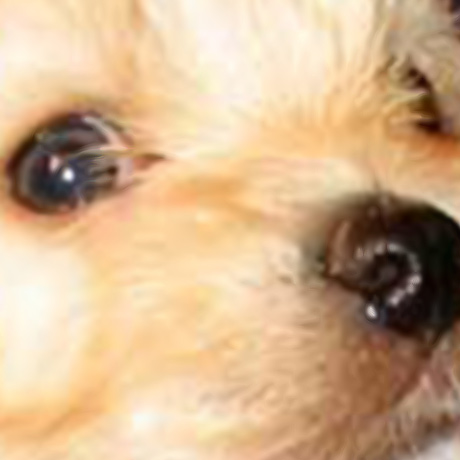
Now enlarge the image to it’s double again and apply Filter/Stylize/Diffuse with the Anisotropic option. This will smoothen the edges further and it enhances the edges of the image. The reason we have to enlarge the image before applying this filter is that this filter is extremely evident at 100% and would destroy the reality of the image. At this size you can see that this filter works as if a human would go over the image with a brush and repaint it, improving the edges and getting rid of inconsistencies.
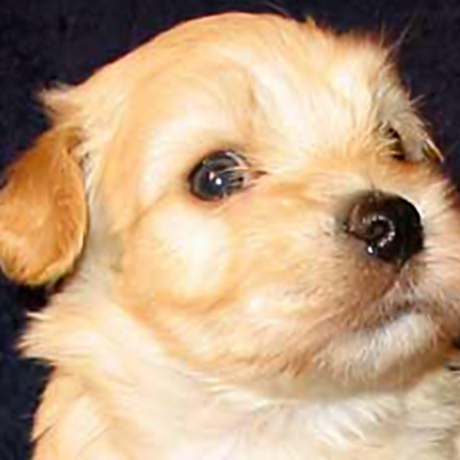
Next reduce the image back by 50% and apply Filter/Sharpen/Unsharp mask with the options Amount 60%, Radius 2 px, Threshold 2 levels. You can experiment with these options depending on your image. If you look at the eyes, nose and ear you can clearly see the difference between the second (enlarged) image and this last one.
Commenting on this Blog entry is closed.
