
There are many ways to create Aqua like buttons. The tutorial below is a simple example that you can build on to create your own translucent objects.
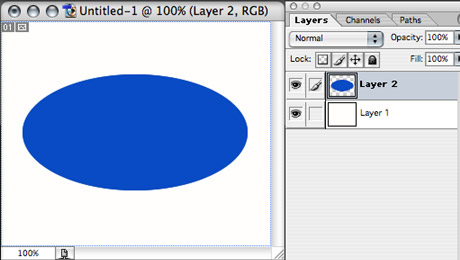
Our sample document is 400×250 pixels. Start by choosing a bright color and create the oval shape on a new layer.
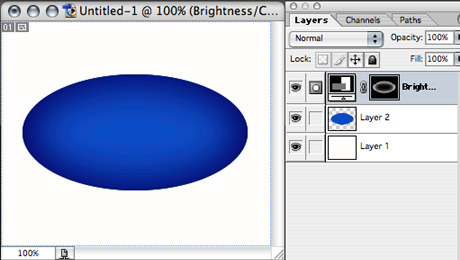
Next, make a selection of your shape by Apple-clicking on your new layer. Now reduce the selection in Select/Modify/Contract… by 10 pixels. Apply a feather (Apple-Alt-D) of 10 pixels. Invert the selection Apple-Shift-I and than click on the layer of the oval while holding Apple-Alt-Shift to intersect your actual selection and the selection of your oval. Now that you have a feathered selection of the edges of the oval you can apply an adjustment layer Brightness/Contrast and lower the brightness to -100. This gives a slight three dimensional effect to our oval.

Now, repeat the selection of the oval layer and contract the selection. Select the Oval selection tool and press Alt while drawing another oval selection over the existing one that will cut off most of the selection, but leave a slice. This will be our primary reflection. Fill up this selection with the white background color on a new layer (Apple-Alt-Shift-N & Apple-Backspace). Make this layer opacity 80% (Just press 8).
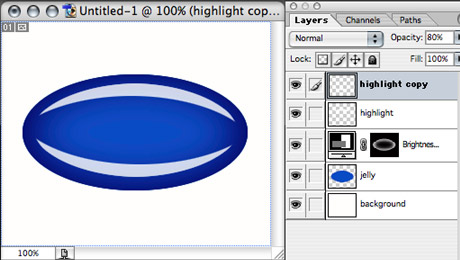
Now make a duplicate of your layer (Apple-J). Rotate your new layer by 180 degrees by selecting Edit/Transform/Rotate 180 and place it symmetrically on the bottom of the button.
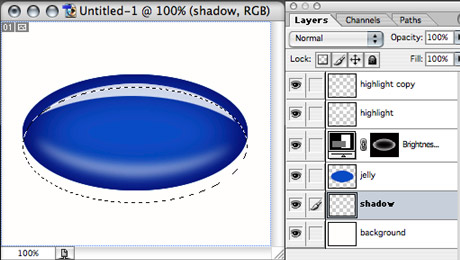
Blur this new layer (Filter/Blur/Gaussian blur 5 pixels) to get a diffused look, which is supposed to be a reflection of a reflection on the top. Make it only 50% opacity (Press 5). Now Apple-click the oval layer to make a selection of it again and go inside the selection with your cursor to move the selection down. Apply a feather (Apple-Alt-D) of just 5 pixels.
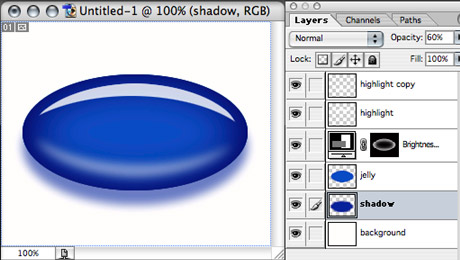
Now create a layer between the background layer and the oval’s layer and fill the selection with the foreground color (Alt-Backspace). Set this new shadow layer to 60% opacity (Press 6). The shadow is colored since our object is translucent and the light goes through it, so the shadow will also have a color cast.
As a final step you can add the text or graphics on the top of your button with a slight shadow and you are done.
Commenting on this Blog entry is closed.
Comments are closed.