In Photoshop to make one layer gradually disappear to reveal another layer is common knowledge. It is achieved by applying a gradient to the top layers’ mask.
Not surprisingly you can achieve the same effect with a similar approach by applying a gradient mask to objects in Illustrator too.
Here are the three simple steps to create a gradient mask in Illustrator.

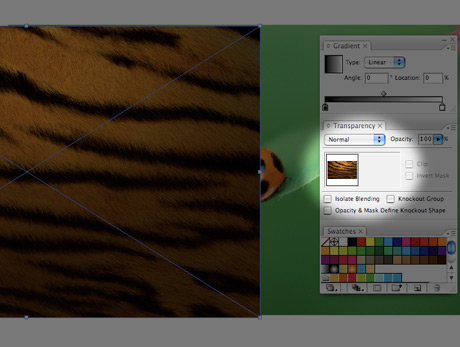
Place the two objects on top of each other. These objects do not have to be images as illustrated above, but any other type of Illustrator element. Notice that the top object is selected and the transparency panel is open. There are two boxes within the transparency panel. The left one represents the object itself. On the right another box represents its mask, which is currently empty.

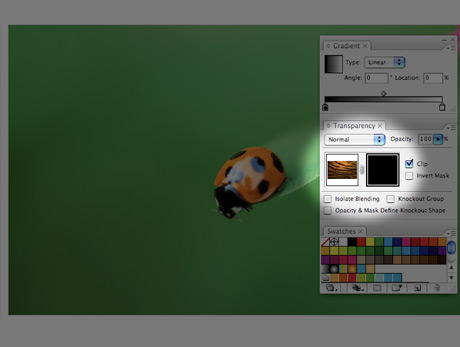
Double click inside the empty square to create a mask. Once the square of the mask turns black the object will disappear as the object is now fully masked out. Note that the mask square is selected, which means you are working on the mask.

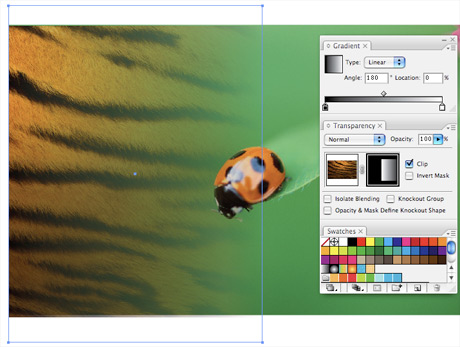
Open the gradient palette and create a gradient from black to white. Now, while the mask square is still selected draw a rectangle over the top object, which is at this moment still hidden. As soon as you release the mouse button the top object masked with the gradient will appear. Now you can adjust the size and shape of your mask to complete the effect.

Comments are closed.